REVIEW · WHISTLER
Whistler Intro to Backcountry Skiing and Splitboarding
Book on Viator →Operated by Mountain Skills Academy & Adventures · Bookable on Viator
Backcountry skiing is one of those skills that sounds wild until you learn the rules. This Whistler intro run gets you off the busy slopes with a small group and an expert guide, so you can focus on doing it right. With guides like Phil leading the day, you’ll spend real time on how to stay safe and move confidently in snow.
I especially like the focus on backcountry safety basics you can use immediately, not just theory. And I like that the day is built for hands-on improvement for skiers and snowboarders at a strong intermediate level. One thing to keep in mind: rental gear and avalanche safety gear aren’t included, so your total cost may be higher once you add what you need.
In This Review
- Whistler Intro Backcountry: What Makes This Day Work
- The Skill Level Reality Check (Strong Blue/Intermediate Needed)
- Your 8:30am Start at RMU Whistler (No Hotel Pickup)
- What the Day Looks Like: A Guided Backcountry Exploration
- Safety Basics You’ll Use on Your Next Snow Day
- Improving Your Turns: Skiing and Splitboarding Coaching
- Small Group Advantage: Better Attention, Less Waiting Around
- Untracked Snow Outside Whistler Blackcomb: The Big Payoff
- Gear and Food: What’s Not Included (So You Don’t Get Surprised)
- Avalanche Safety Gear: Don’t Wing It
- Weather, Fitness, and the Realistic Day Length
- Price and Value: Is $164.10 a Fair Deal?
- Quick Tips to Get the Most From Your Guide
- Should You Book This Intro to Backcountry Skiing and Splitboarding?
- FAQ
- What time does the Whistler intro backcountry tour start?
- Where is the meeting point?
- How long is the tour?
- What skill level do I need?
- Is rental gear included?
- Is avalanche safety gear included?
Whistler Intro Backcountry: What Makes This Day Work
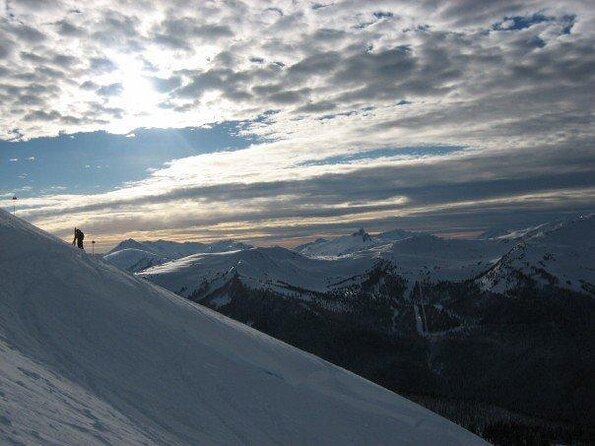
This isn’t a huge group “tour bus” vibe. It’s a focused day out with up to 6 people per guide, which matters when you’re learning decisions—route choice, terrain judgment, and how to travel more safely in untracked snow.
The setting is also a big part of the appeal. You start at Whistler Blackcomb and then head into backcountry just outside the resort. That means you’re still in familiar terrain, but you get the feeling of fresh lines away from crowds.
The Skill Level Reality Check (Strong Blue/Intermediate Needed)
This activity has a clear bar: you must be strong blue/intermediate on skis or snowboard. That’s not just to make the outing easier. It’s because backcountry travel and control demand more than cruising a groomer.
You’ll want solid linking turns, good edge control, and comfort moving across uneven snow. If you’re still working your way up through blues, you may find the learning curve too steep for a 6–8 hour day.
You can also read our reviews of more tours and experiences in Whistler.
Your 8:30am Start at RMU Whistler (No Hotel Pickup)
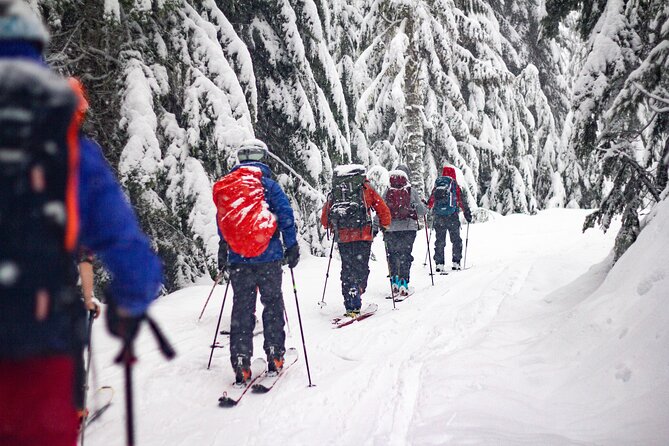
Plan for an early start. The tour begins at 8:30am at RMU Whistler, 113-4557 Blackcomb Way, Le Chamois Hotel plaza level, Upper Village, Whistler BC (V8E 0Y2). The day ends back at the same meeting point.
There’s no hotel pick-up, so you’ll handle getting yourself there. Also, parking lot fees aren’t included, so if you drive, budget for that.
If you like straightforward logistics and hate hunting for meet points, this one is clean: one start, one return.
What the Day Looks Like: A Guided Backcountry Exploration
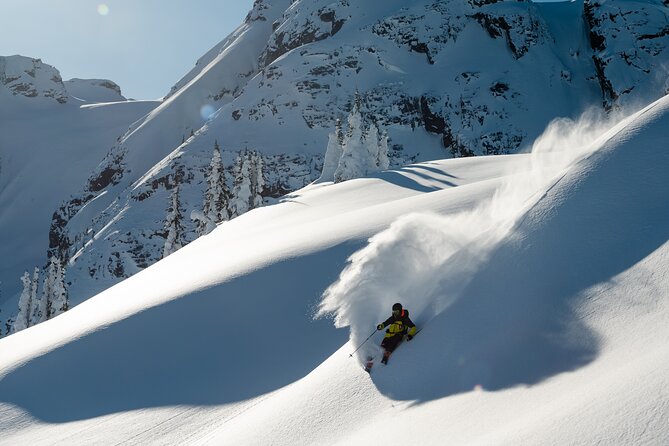
The core of the outing is a guided trek out of the main resort zone into backcountry terrain just outside Whistler Blackcomb. You’ll be on skis or splitboard, exploring and practicing in untracked snow conditions.
The day is about getting a taste of the backcountry feel: quieter slopes, deeper snow, and the mental shift from “stay on the marked lines” to “read the terrain and manage risk.” Expect the guide to keep you moving and teach while you’re actually out there.
Safety Basics You’ll Use on Your Next Snow Day
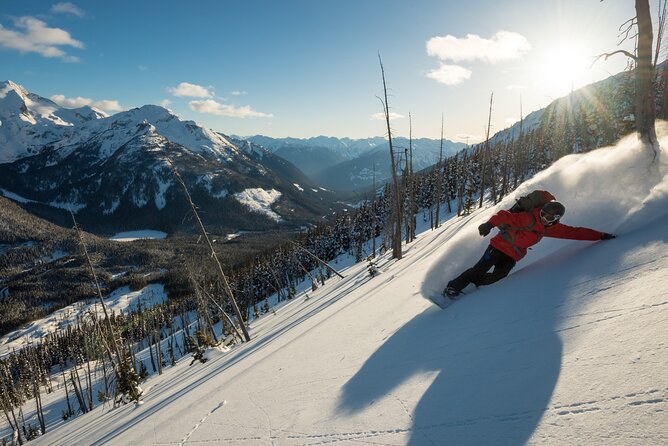
This is the big headline for a reason. The guide covers backcountry safety basics—stuff that helps you understand what can go wrong and how to reduce your risk.
In my view, the value isn’t just learning the checklist. It’s learning how to think in the moment:
- what to notice as conditions change
- how travel decisions affect your safety
- how to keep the group together and communicate clearly
If you’ve skied or rode a lot, it can still feel intimidating out of bounds. That’s normal. A good intro day helps you translate backcountry safety into actions, not just words.
And yes, good information sticks when you hear it from someone like Phil, who clearly explains safety in a way that makes the day feel manageable.
Improving Your Turns: Skiing and Splitboarding Coaching
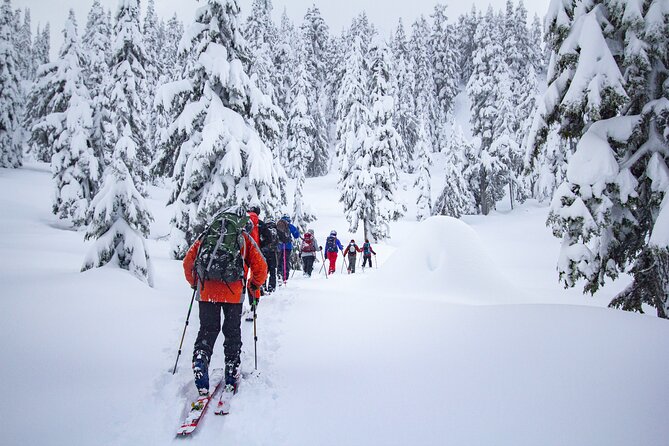
This intro isn’t only about survival skills. It’s also about technique. You’ll improve your skiing or snowboarding while you’re in the backcountry environment.
What that means in practice: you’ll spend time moving efficiently through snow that isn’t groomed. You’ll likely work on balance and control, and you’ll get feedback from your guide as conditions and terrain demand different body positions.
If you’re a strong intermediate who wants better control in variable snow, you’ll get more out of this than someone who just wants a scenic outing.
Small Group Advantage: Better Attention, Less Waiting Around
With a maximum of 6 travelers per guide (and a minimum of 2 per booking), this has a built-in “attention” advantage.
A large group can turn into one long line of single-file catch-up. Here, you’re more likely to get corrections and coaching that match what you’re actually doing. That’s huge when you’re learning how to travel in a different kind of terrain.
It also helps when you’re new-ish to backcountry travel. You’re not left hanging out on your own, guessing what everyone else already understands.
Untracked Snow Outside Whistler Blackcomb: The Big Payoff
The tour’s promise is simple: get into fresh, less-crowded snow. You’ll explore backcountry just outside the ski resort, which is a sweet spot for many beginners.
Why it matters: it gives you the payoff of the backcountry—better snow feel, more quiet, and that I’m not on the busy slopes sensation—without throwing you into total unknown territory.
You should still expect the day to feel different from resort riding. Even if the terrain stays “intro-friendly,” snow quality and travel rhythm are less predictable than groomers.
Gear and Food: What’s Not Included (So You Don’t Get Surprised)
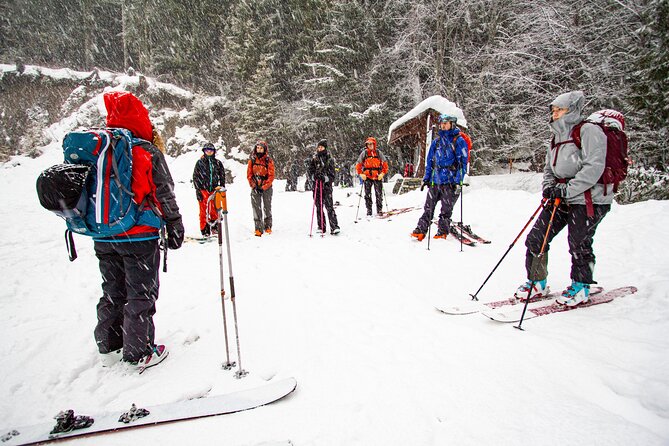
Included in the tour:
- Guided tour
- Professional guide
Not included:
- Rental gear (skis or splitboard, boots, poles, backpack, etc.)
- Lunch, snacks, beverages
- Gratuity/tip for your guide
- Hotel pick-up
- Parking lot fees
- Avalanche safety gear (can be rented)
This is where your planning matters most.
Rentals: If you don’t already have the right equipment, budget for it. And even if you own skis, you might still need the right setup for splitboarding (if you’re doing that) and a proper pack. The tour list is a reminder that you’re responsible for your kit.
Food: The day runs roughly 6 to 8 hours. That’s long enough that you’ll want snacks and water planned ahead. Since lunch and beverages aren’t included, I’d treat food as part of your gear prep.
Tip: Gratuity isn’t included. If your guide did a great job, set aside a bit extra.
Avalanche Safety Gear: Don’t Wing It
The tour does not include avalanche safety gear, though it can be rented. That’s an important detail. A backcountry safety lesson is only as useful as the tools you bring.
If you’re new to avalanche equipment, ask when you book how rental works and what exact items you’ll have access to. At minimum, make sure you won’t show up without what your guide expects you to carry.
Also, dress for the outdoors. The tour operates in all weather conditions, so your comfort and safety depend on being appropriately layered.
Weather, Fitness, and the Realistic Day Length
This outing runs in all weather conditions. That doesn’t mean the experience never changes—it means you should show up ready for the kind of snow day that surprises you.
Fitness requirement is described as moderate. For me, that means you should be comfortable with a full morning out in winter conditions, moving through snow, and staying alert. Don’t underestimate cold, wind, and effort on variable terrain.
Duration is listed as approx. 6 to 8 hours, and one main segment is around 7 hours. Plan your day around that time block. This is not a quick half-day you can squeeze into a busy schedule.
Price and Value: Is $164.10 a Fair Deal?
At $164.10 per person, you’re paying for the guided instruction, professional leadership, and the small-group setting. You’re not paying only for turns. You’re paying to learn how to travel with more safety thinking—plus get practical coaching.
Is it expensive? It depends on what you already own. If you already have gear and avalanche equipment, the price looks more like a straight “pay for the guide” cost. If you need rentals and an avalanche kit rental, your total out-of-pocket will rise.
That’s also why the small group matters. If you’re paying to learn, you want attention from the guide. This tour is structured to keep that attention tight, with up to 6 people per guide and a start time that makes the day feel organized rather than rushed.
Quick Tips to Get the Most From Your Guide
Here’s how to set yourself up for a smooth, confidence-building day:
- Show up at the meeting point on time. It starts at 8:30am, and there’s no hotel pickup to bail you out.
- Wear layers you can adjust. The tour runs in all weather conditions.
- Bring your own snacks and water plans since lunch and beverages aren’t included.
- If you’re splitboarding, double-check your readiness ahead of time so you’re not troubleshooting mid-day.
- Bring or rent the avalanche safety gear. The tour won’t provide it for you.
Also, remember: this is a non-refundable experience and cannot be changed for any reason. If there’s any chance you won’t be able to go, be cautious before you lock it in.
Should You Book This Intro to Backcountry Skiing and Splitboarding?
If you’re a strong blue/intermediate skier or rider, you want a guided taste of untracked snow, and you care about doing backcountry travel responsibly, this is a smart entry point. The combination of safety basics, hands-on coaching, and a tight group size is the heart of the value.
Skip it if you don’t meet the skill level, can’t commit to moderate fitness, or you’re not willing to handle rentals and avalanche safety gear. For an intro day, that stuff isn’t optional—it’s how you protect your day and make the learning stick.
If you’re ready for a real backcountry lesson—without the chaos of a big group—this Whistler outing with Mountain Skills Academy & Adventures is the kind of trip you’ll be glad you did early in your backcountry journey.
FAQ
What time does the Whistler intro backcountry tour start?
It starts at 8:30am at the meeting point in Whistler.
Where is the meeting point?
The meeting point is RMU Whistler, 113-4557 Blackcomb Way, Le Chamois Hotel, Plaza Level, Upper Village, Whistler, BC V8E 0Y2, Canada. The tour also ends back at this same location.
How long is the tour?
The duration is listed as approximately 6 to 8 hours.
What skill level do I need?
You must be a strong blue/intermediate level skier or snowboarder.
Is rental gear included?
No. Rental gear such as skis or splitboard, boots, poles, and a backpack is not included.
Is avalanche safety gear included?
Avalanche safety gear is not included, but it can be rented.